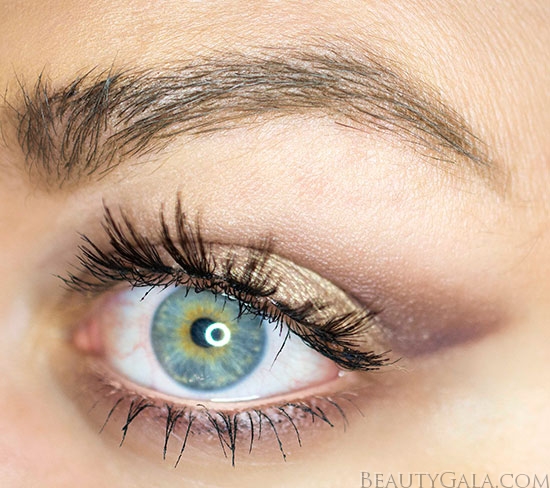
I had some requests for wearable makeup looks that you can easily wear to the office or to work, especially if you work in a more conservative environment. I actually had several people tell me they were bored with using plain neutrals and felt like spicing it up, but still having it be wearable. I decided to use my new Smashbox Double Exposure Palette for this look, although any neutral shades will work. I only use two eyeshadow shades for this entire look…it’s THAT easy. The cut crease is a classic, with screen siren’s wearing it in the 1940’s and 1950’s and then again in the 1970’s when Twiggy brought it back. Normally it’s quite harsh, hence the term “cut crease,” but since we want this to be daytime and work appropriate, I used soft shades and flicked it out into a cat eye shape. This gives the optical illusion of longer, larger eyes. I’ve got the full tutorial inside!
[Some products may be press samples.]
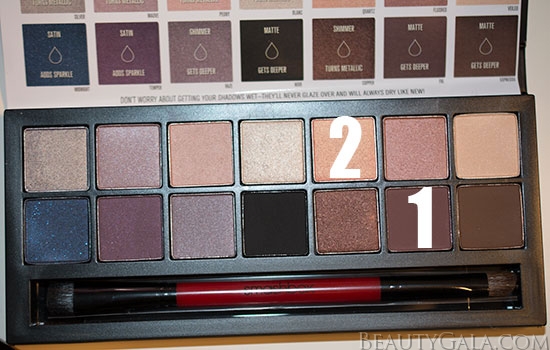
I used the Smashbox Double Exposure Palette and labeled the two shades I used above. Get yourself a flat stiff makeup brush that looks like this:
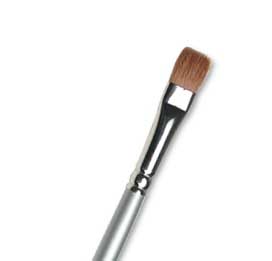
- Using Shade 1 (or any medium-dark brown, preferably matte) and your flat brush, trace the brown into the crease of your eye. You’re going to hold the flat brush as if you were lining your lash line, with the stiff part pushing the color onto your eyelid. You want to do this slowly and build it up. You can trace a light line into the crease and always go back over it to make it more intense as you go, but it’s important that the line follows your natural socket and is clean. Then, hold your brush at an angle on your outer eye, and create a cat-flick by patting the brush onto your skin. Extend the flick to where your eyebrow ends, not past.
- Using Shade 1 again and again, build the socket color up in strokes until there is a very defined line in your socket. It might look a little funny at first because we are always taught to blend, blend, blend, but here we want a really harsh line. Use the flat brush on it’s side (like an eyeshadow brush) to slowly push the brown eyeshadow upward toward your eyebrows. This will create a smokey effect and make the line look slightly more blended without softening the actual crease. Keep doing this until you get your desired intensity.
- Apply Shade 1 to your lower lash-line and smoke it out with a fluffy blending brush.
- Apply Shade 2 (or any neutral beige/champagne) over your entire eyelid and inner corners of the eyes. To keep the crease very crisp, make sure you STAY AWAY from your socket. When in doubt, don’t apply this shade too close to the crease.
- I like to go back with Shade 1 at this point and redefine the socket and cat-eye flick once more, but this time wetting the flat brush. Remember to pull the brown color up by using the flat part of the brush so it’s smokey.
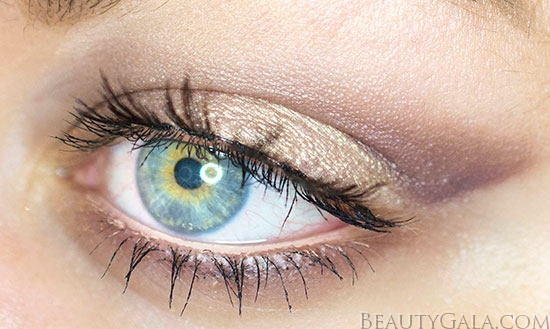
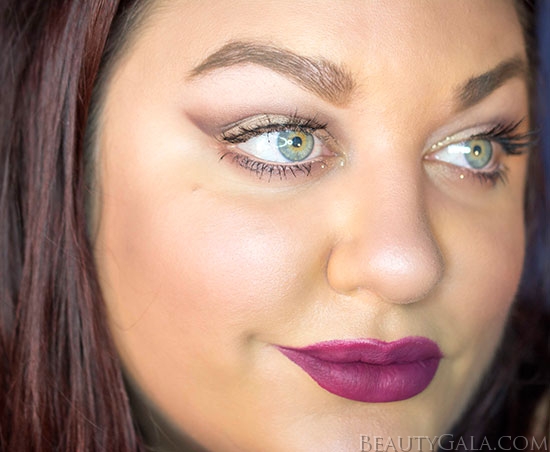
I applied flesh-colored liner to my waterline to open up my eyes and applied mascara. I applied false lashes to give my eyes a wide-eyed look, but if you’re going to the office, you can skip this step.
The crease of my eyes tends to be hidden when I am looking straight ahead. It’s just how my natural socket line is. Some of you will have deeper, more obvious sockets or more hooded eyes like I have. That’s okay and the look still works on everyone!
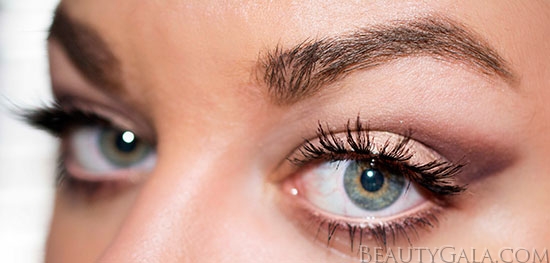
For mascara I used Too Faced’s Better Than Sex Mascara and House of Lashes Eyelashes in “Bambie.”
FOR THE LIPS:
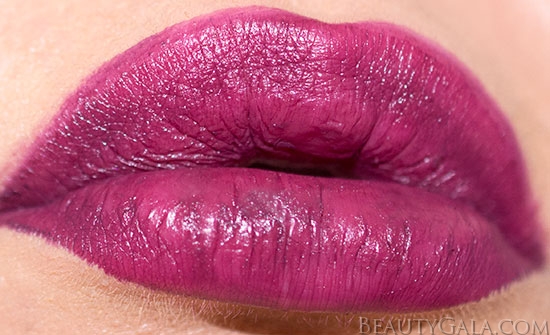
For the lips, I used MAC Cosmetics Nightmoth Lip Liner and NYX Cosmetics Soft Matte Lip Cream in “Amsterdam.”
FOR THE FACE:

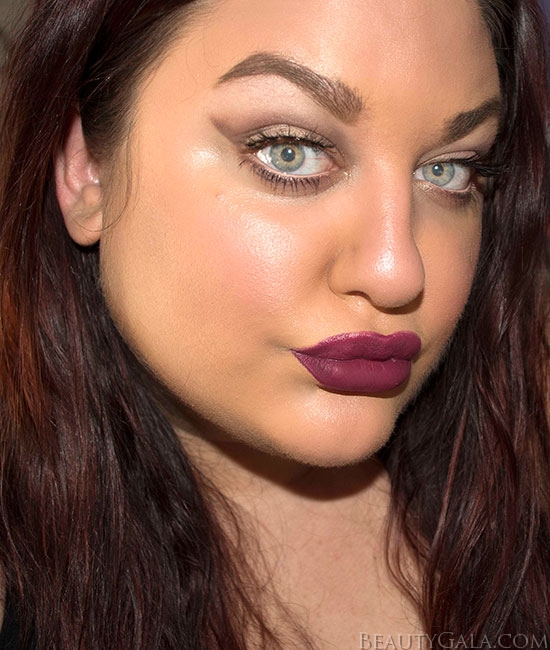
I kept the skin clean with a slight highlight. Here are the products I used:
- Giorgio Armani Silk Foundation
- NARS Paloma Contour Blush
- Hourglass Ambient Lighting Blush Palette
- Hourglass Ambient Lighting Palette
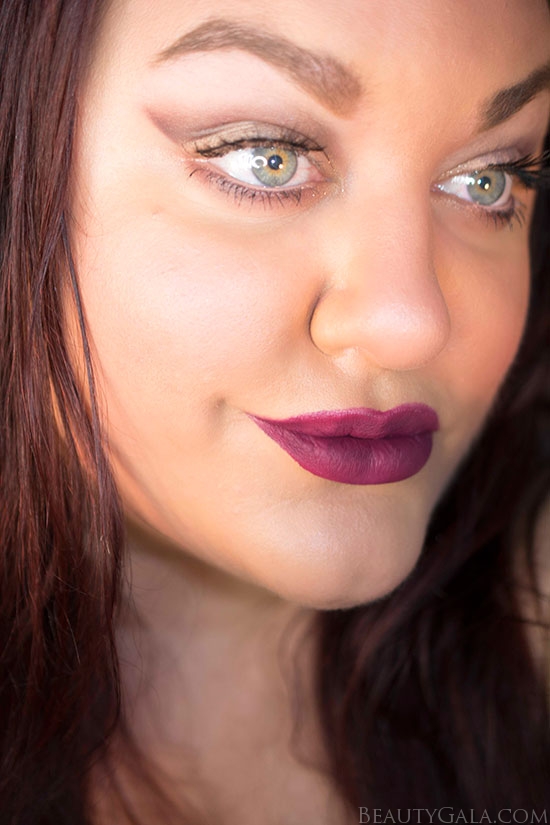
I just love this look so much because it works on everyone and can really change the shape of your eyes and sculpt your facial features. The cat-flick is soft, yet defined. It’s wearable for the daytime, yet it’s different than just plain boring neutral eyeshadow. It’s fun and a bit playful, but still wearable.
Don’t forget to check out my swatches of the Smashbox Double Exposure Palette here! Purchase the palette here.
[ALL PHOTOGRAPHY AND VIDEO ON THIS SITE IS TAKEN BY REBECCA KAZIMIR. NO PHOTOGRAPHS ARE TO BE REPRODUCED WITHOUT WRITTEN PERMISSION.]
Leave a Reply