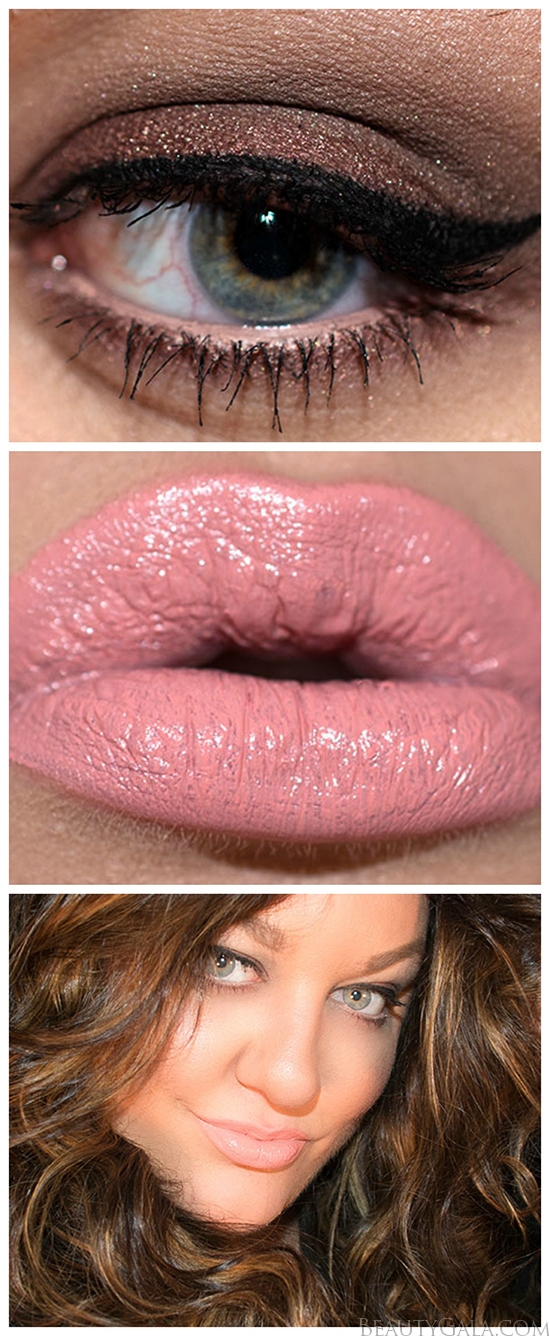
Today was a super fun day because I went and got my hair done at the salon with my good friend Jessica. She is an incredible hairdresser, and she’s actually more like a therapist than a hairdresser because by the time you leave her seat, you’re feeling like a new person! I had balayage highlights done, which I had been eyeing up on Pinterest for awhile now. I put together a little collage on my Instagram of examples that I loved, and she knew exactly what I wanted without any further instruction. I also used my NYX “Wicked Dreams” Palette again today, which I am realizing I love more and more each day. It’s a fairly simple, neutral look that really makes your eyes look much bigger and brighter. Full tutorial inside, as well as pictures of my balayage!
THE EYES:
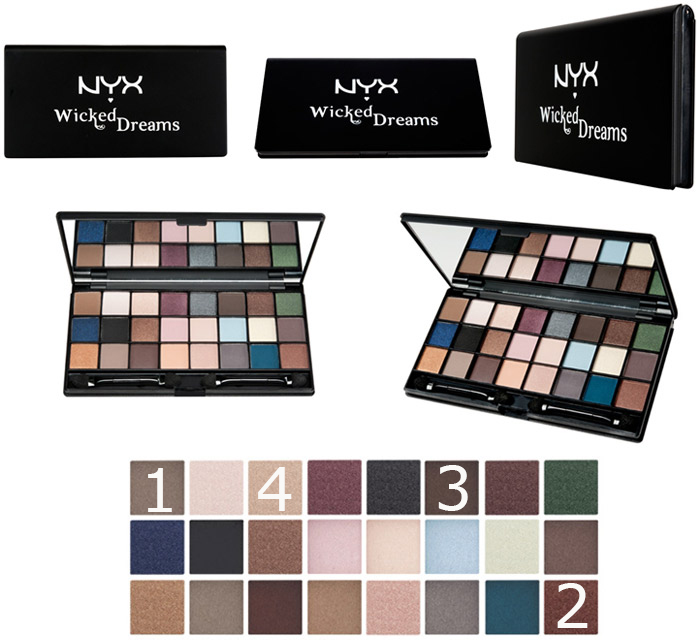
Above is the NYX Cosmetics “Wicked Dreams” Palette with numbers of the shades I used. Here is what I did:
- I applied Shade #1 into the entire crease of my eye, blending it upward generously. Create a sweep of this shade into the socket and above the socket for definition.
- I applied Shade #2 across my entire eyelid and along my lower lash-line. This is your main eyelid shade. Stop the color at the crease of your eye and just before the inner corners of your eyes as well.
- I applied Shade #3 with a precision fluffy brush to the socket of my eye only. This is going to help to blend Shade #2, and also darken up just your crease.
- I applied Shade #4 to the inner corners of my eyes and brow-bone. This opens up the eyes and adds some light to them.
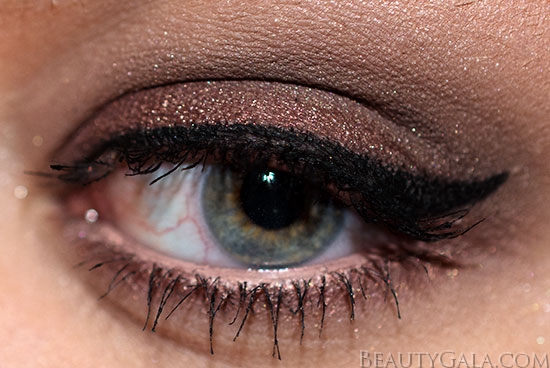
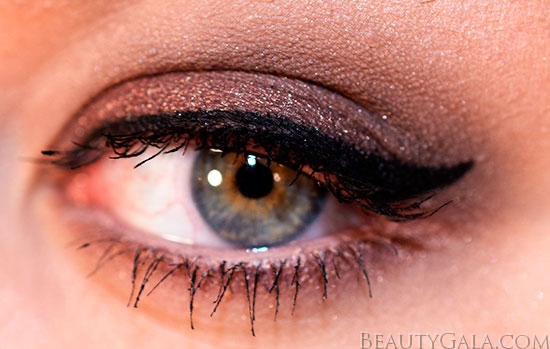
To finish the look off, I added flesh colored eyeliner to my lower water-line. This makes your eyes look so awake and refreshed! I used Stila’s Kajal Liner in “Topaz” for this. I also used Inglot’s AMC Gel Liner in #77 along my upper lash-line to create the cat liner. This elongates the eye and makes it look larger. Finish it off with some mascara and you’re done!
THE LIPS:
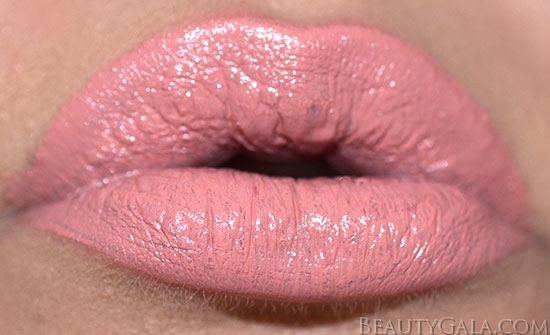
For my lips, I used Lime Crime’s “Babette” Lipstick.
The finished look is natural, glowing skin with a pop of pink blush on the cheeks. It’s great for everyday, and it happened to really go well with my new hair.
MY BALAYAGE HIGHLIGHTS:
Balayage is a French coloring technique that was developed in the 1970’s. It’s a freehand technique where the color is applied by hand rather than using the traditional foiling or cap highlighting techniques. Many stylists use foils to separate the hair though. My hairdresser used foils on my hair, the difference being, she started the highlights halfway down the length of the hair instead of at the root, like traditional highlights. This lends itself to a very natural, sun-kissed, beachy look. It’s also way low-maintenance, so for those of you who can’t make it to a salon often or just hate going, you can get away with this type of highlight without worrying about root growth.
I personally am in LOVE with the effect. My hairdresser really knows what she is doing, so I had no qualms at all with letting her just go in and do it. My hair was a dark brown all over, with no highlights in it. The highlights really draw more light to my face and facial features, and help my skin look healthier. It’s perfect for spring and summer, and I’ll definitely be keeping this for awhile. I just adore it.
Here are some pictures of the finished result:
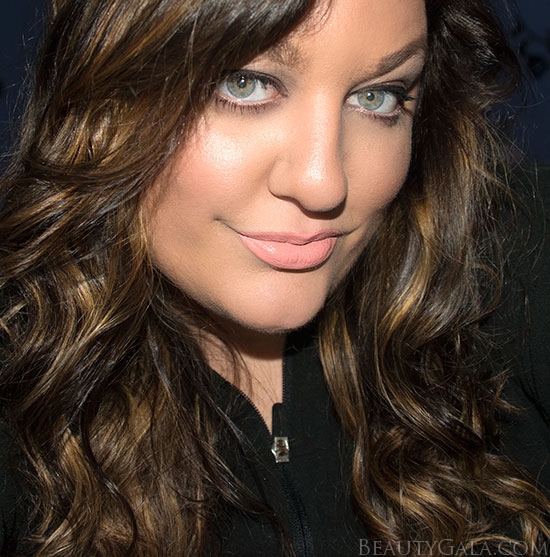
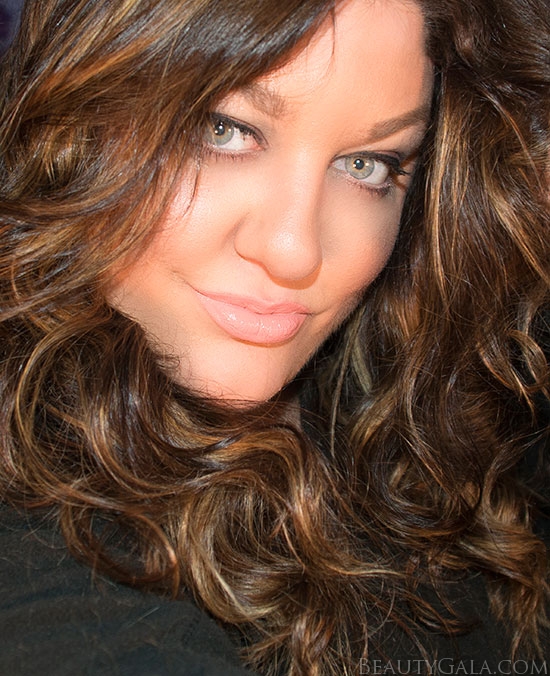
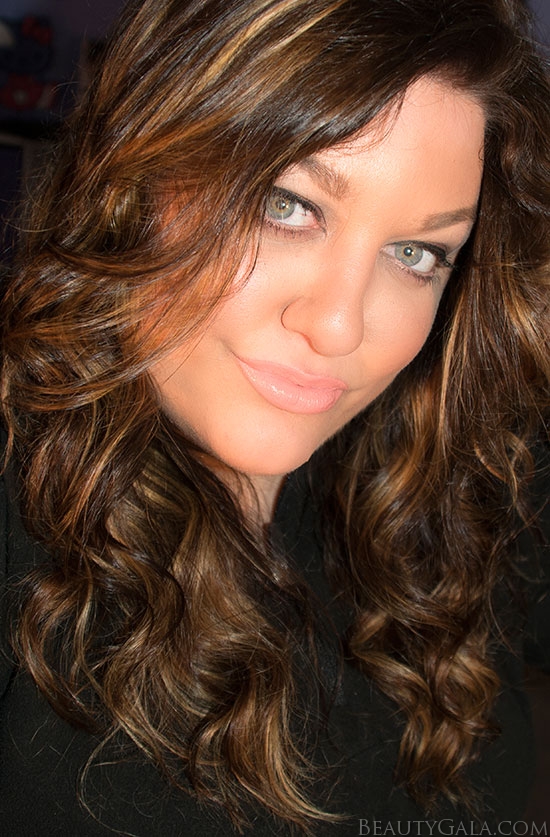
I’m also wearing the makeup look I featured in this post, so you can get an idea of what everything looks like in the finished look together. Overall, it was a really fun filled beauty day, and I love my new hair! I definitely recommend balayage highlights to anyone, especially if you’re looking to add light or glow to your face. It’s great for lightening up really dark hair in a natural way that isn’t as damaging, and it leaves your hair looking sun-kissed. There’s many different effects that balayage can achieve, so definitely Google for, or search on Pinterest for examples you love like I did. Here is the collage of examples I loved that I showed my hairdresser before going in:
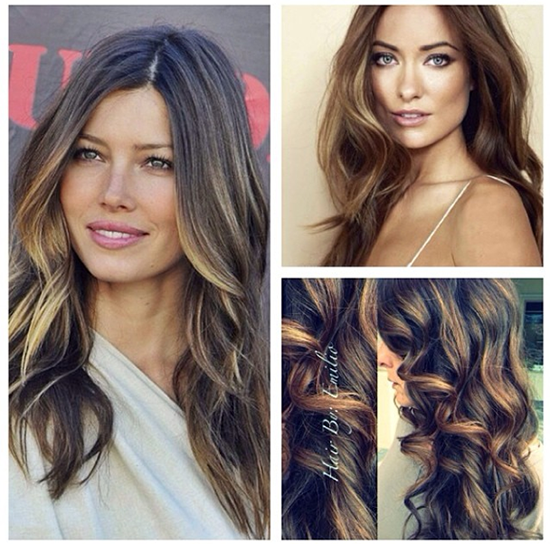
As you can tell, she hit it right on with what I wanted!
[ALL PHOTOGRAPHY ON THIS SITE IS TAKEN BY REBECCA KAZIMIR. NO PHOTOGRAPHS ARE TO BE REPRODUCED WITHOUT WRITTEN PERMISSION.]
Leave a Reply